Rolling my own NAS: Adventures with the Beelink ME Pro 2-Bay
I’ve always been a bit curious about where a NAS would fit into my homelab. Coming from a SysAdmin background, I made the jump from USB-attached drives straight to rackmount servers without making a pitstop there. When any computer can be a server, why only dedicate it to storage?
I’ve moved recently, and as my homelab expands, I’m starting to see the appeal. I don’t have the space (or the real need) for a rack of 4U boxes anymore, or for my apartment to sound like a small data center (especially working from home). It’d be nice to have something intentionally separate from my main machines so I’m not rsync-ing files back and forth every time I rebuild.
Why the Beelink ME Pro 2-Bay?
The goal was something rock-solid for NFS and SMB exports, with RAID underneath, that I would aim to run very few (or 0) containers or VMs on. Something I can use as a backing store for things in my homelab.
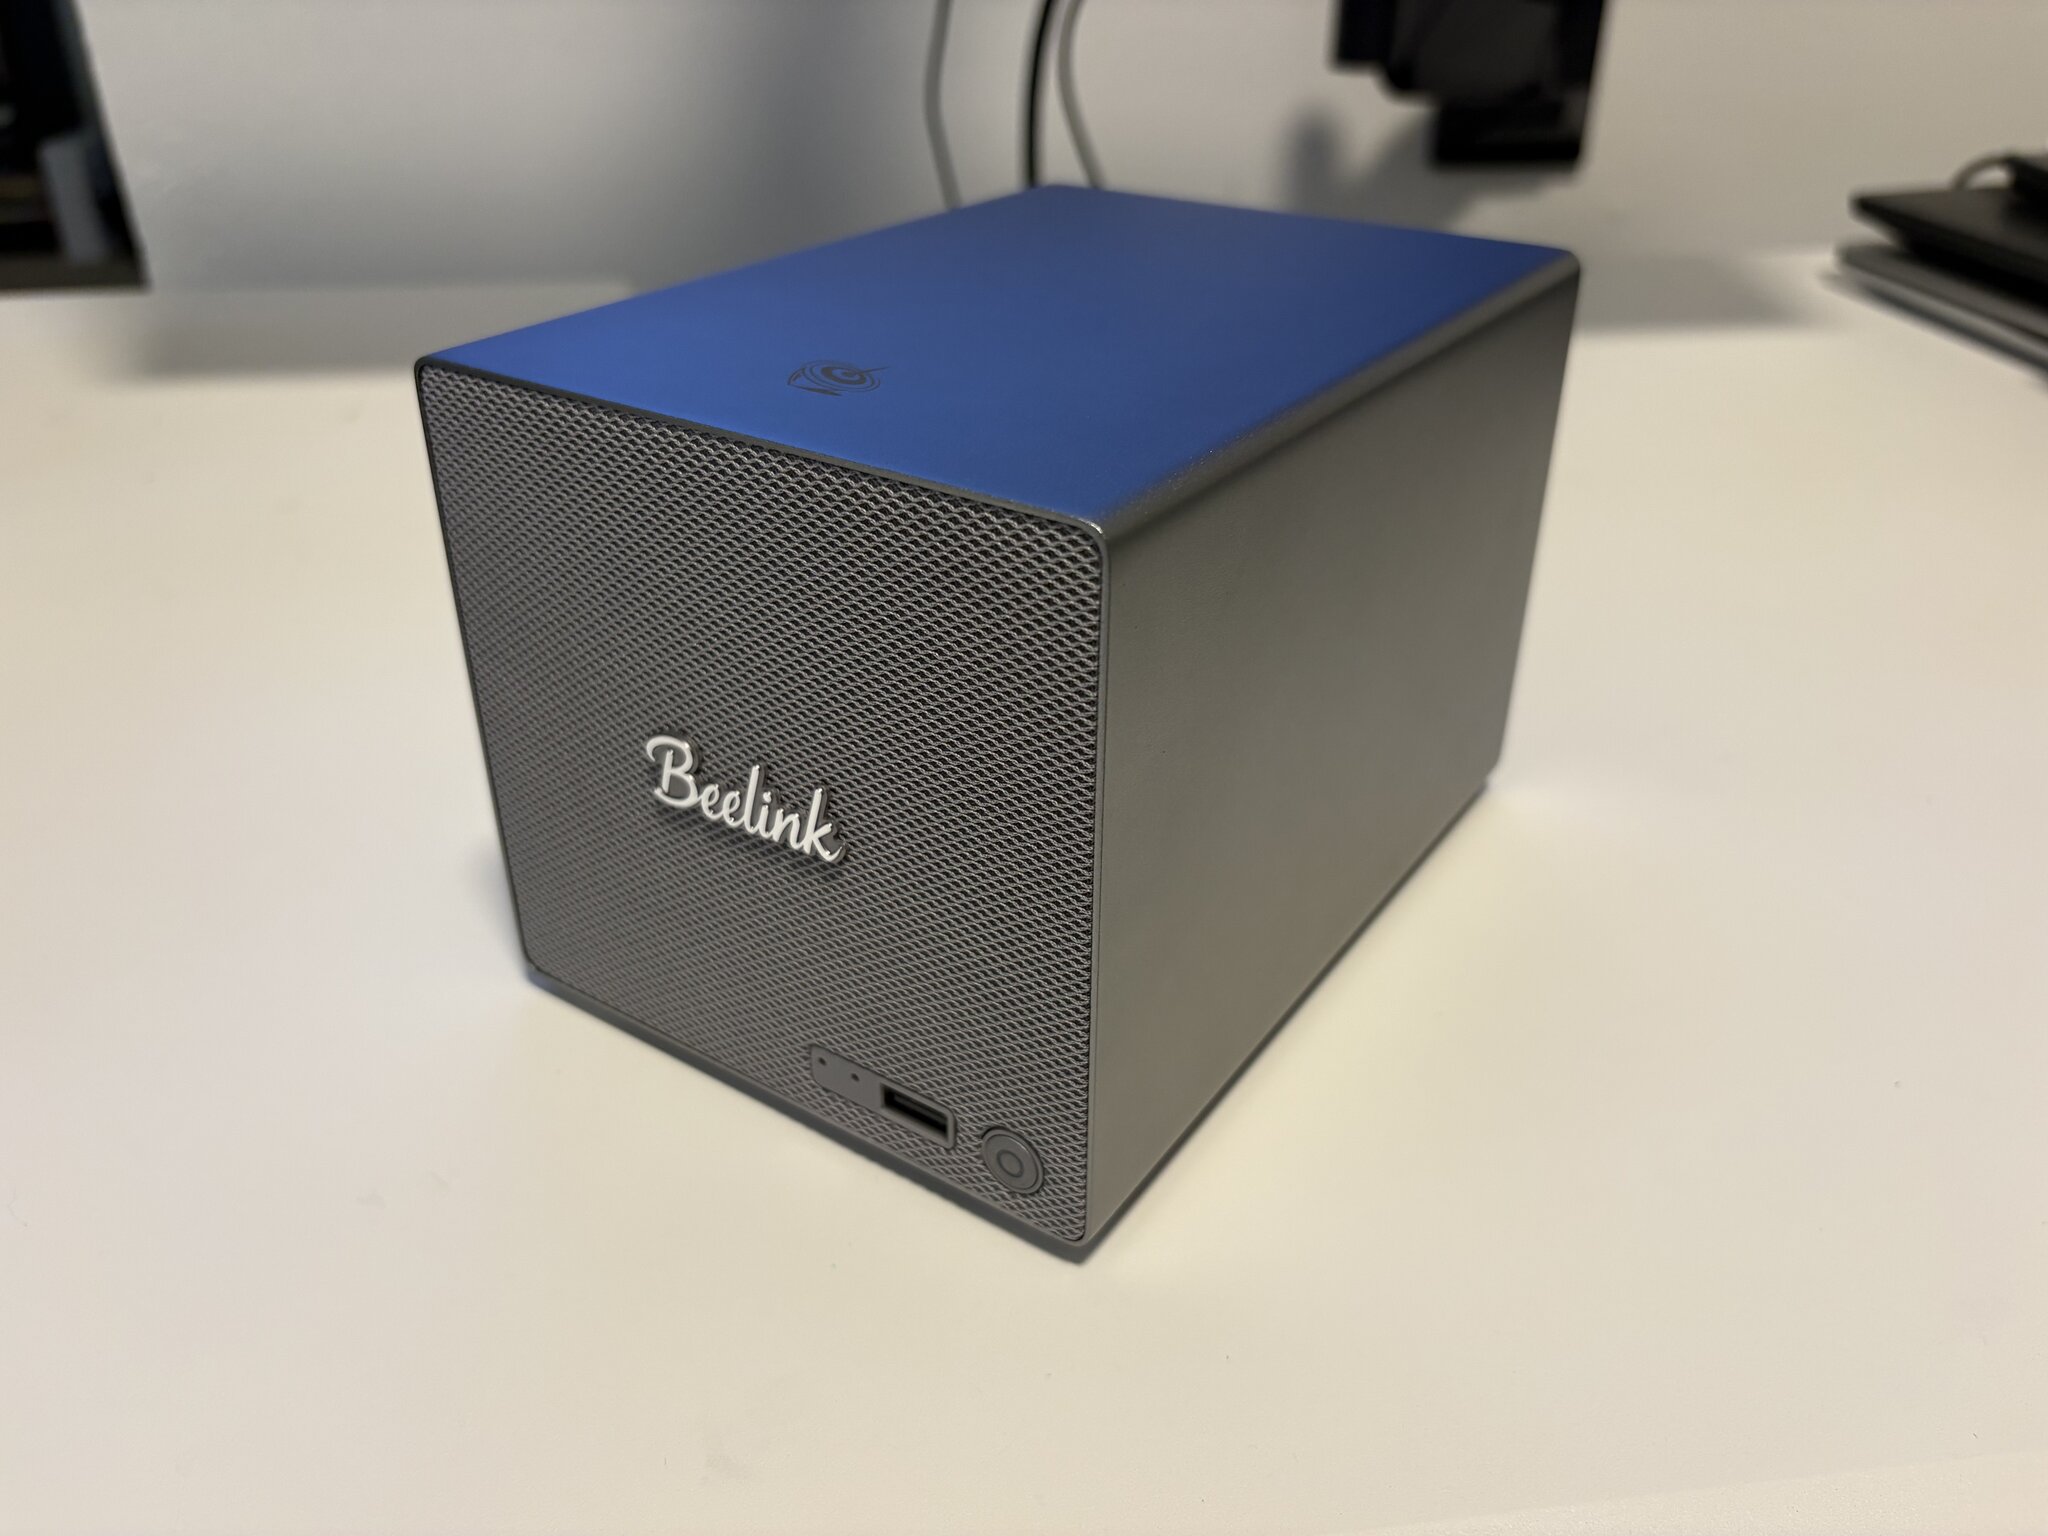
I don’t have the time or desire to build my own PC from scratch, although I know SFF chassis exist. I figured that would be the route I’d have to take if I didn’t want to go with a commodity NAS, but I stumbled upon Beelink’s Mini PC, ME Pro by accident. I could chuck 2 of my spare 14TB drives in it, use ZFS with the drives, and voila! This looked like it could absolutely work. I’d have a good-looking, bookshelf-friendly NAS – that kinda looks like a guitar amp!
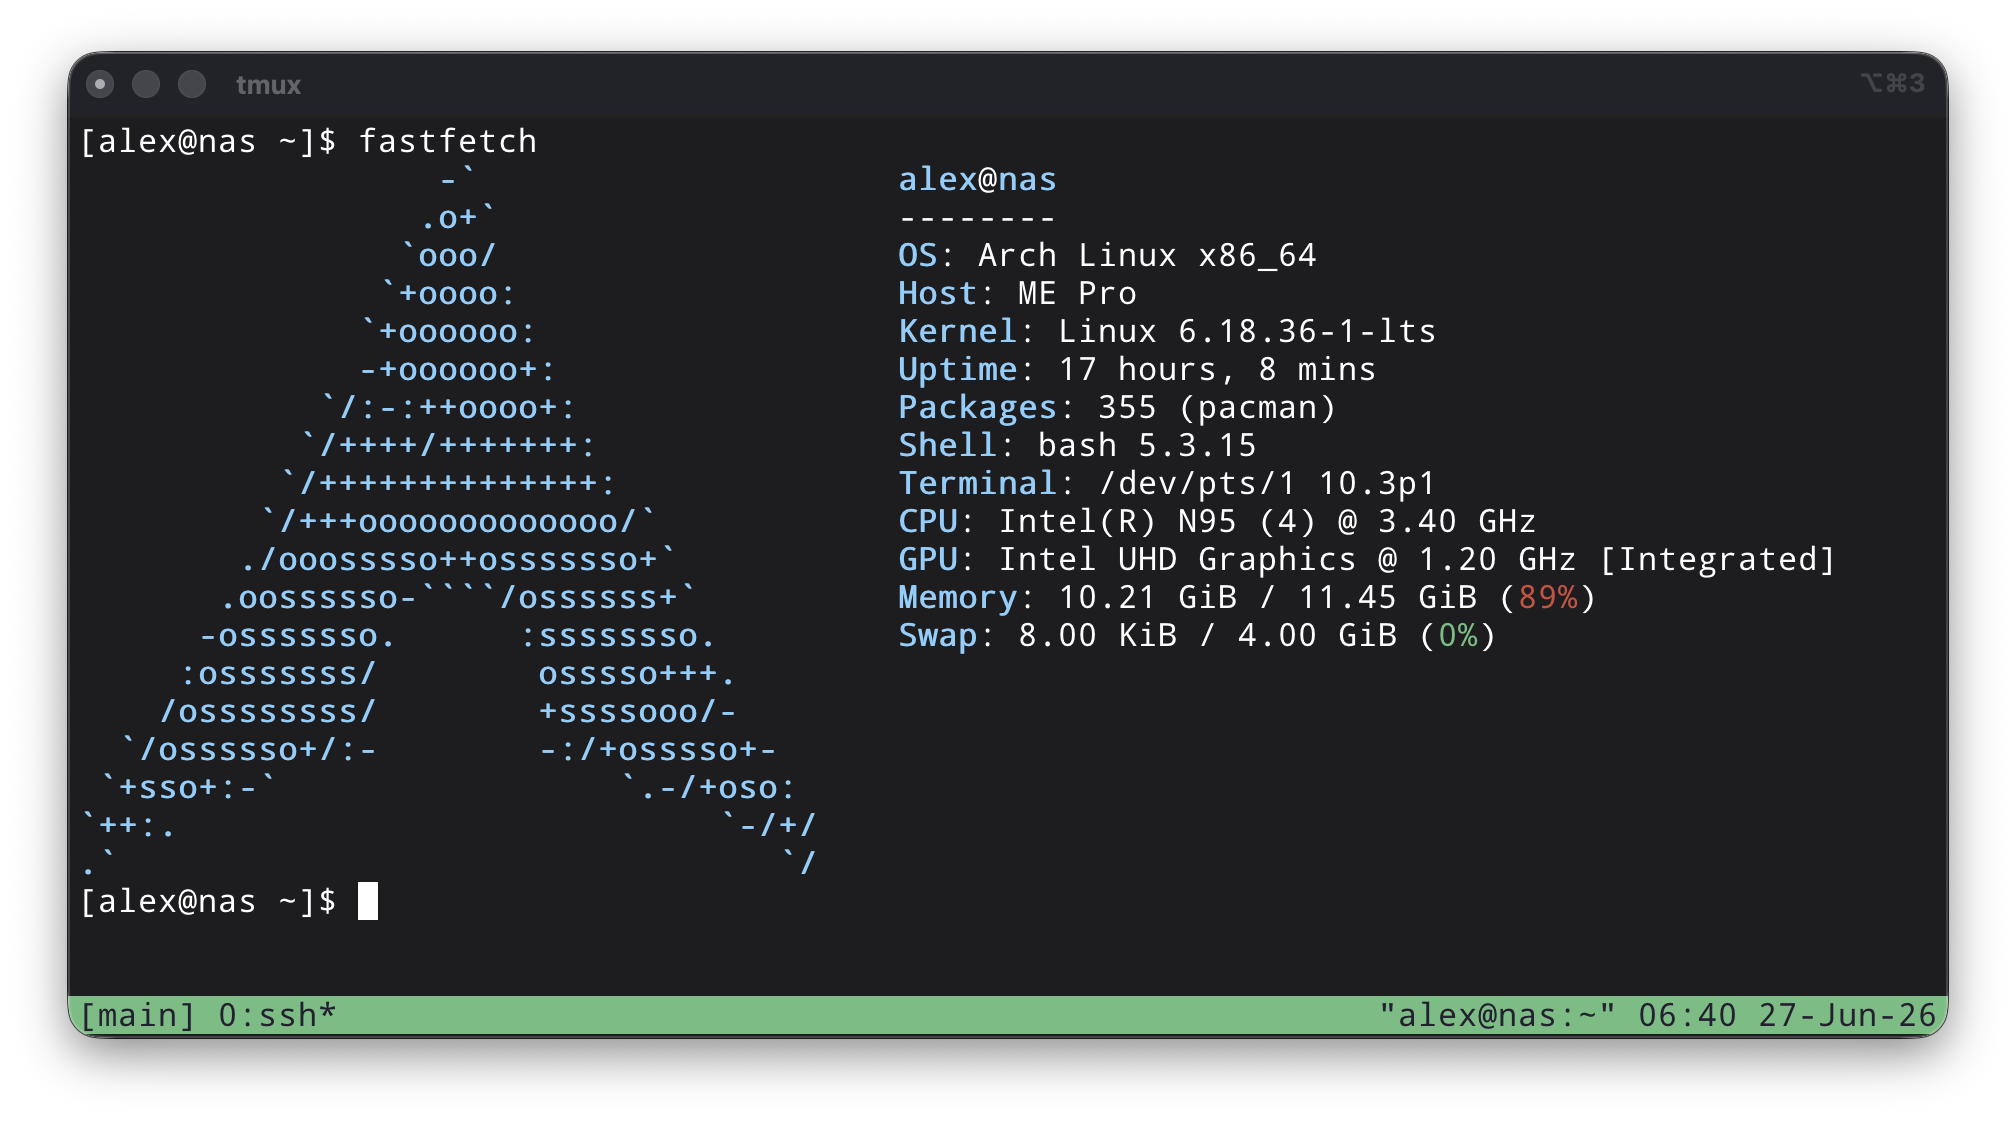
- CPU: Intel N95
- Memory: 12G LPDDR5
- Drive bays: 2x SATA (2.5” / 3.5”)
- NVMe slots: 3x M.2 2280 PCIe 3.0 (one x2, two x1)
- Networking: 5GbE (Realtek RTL8126) + 2.5GbE (Intel i226)
Setup & Installation
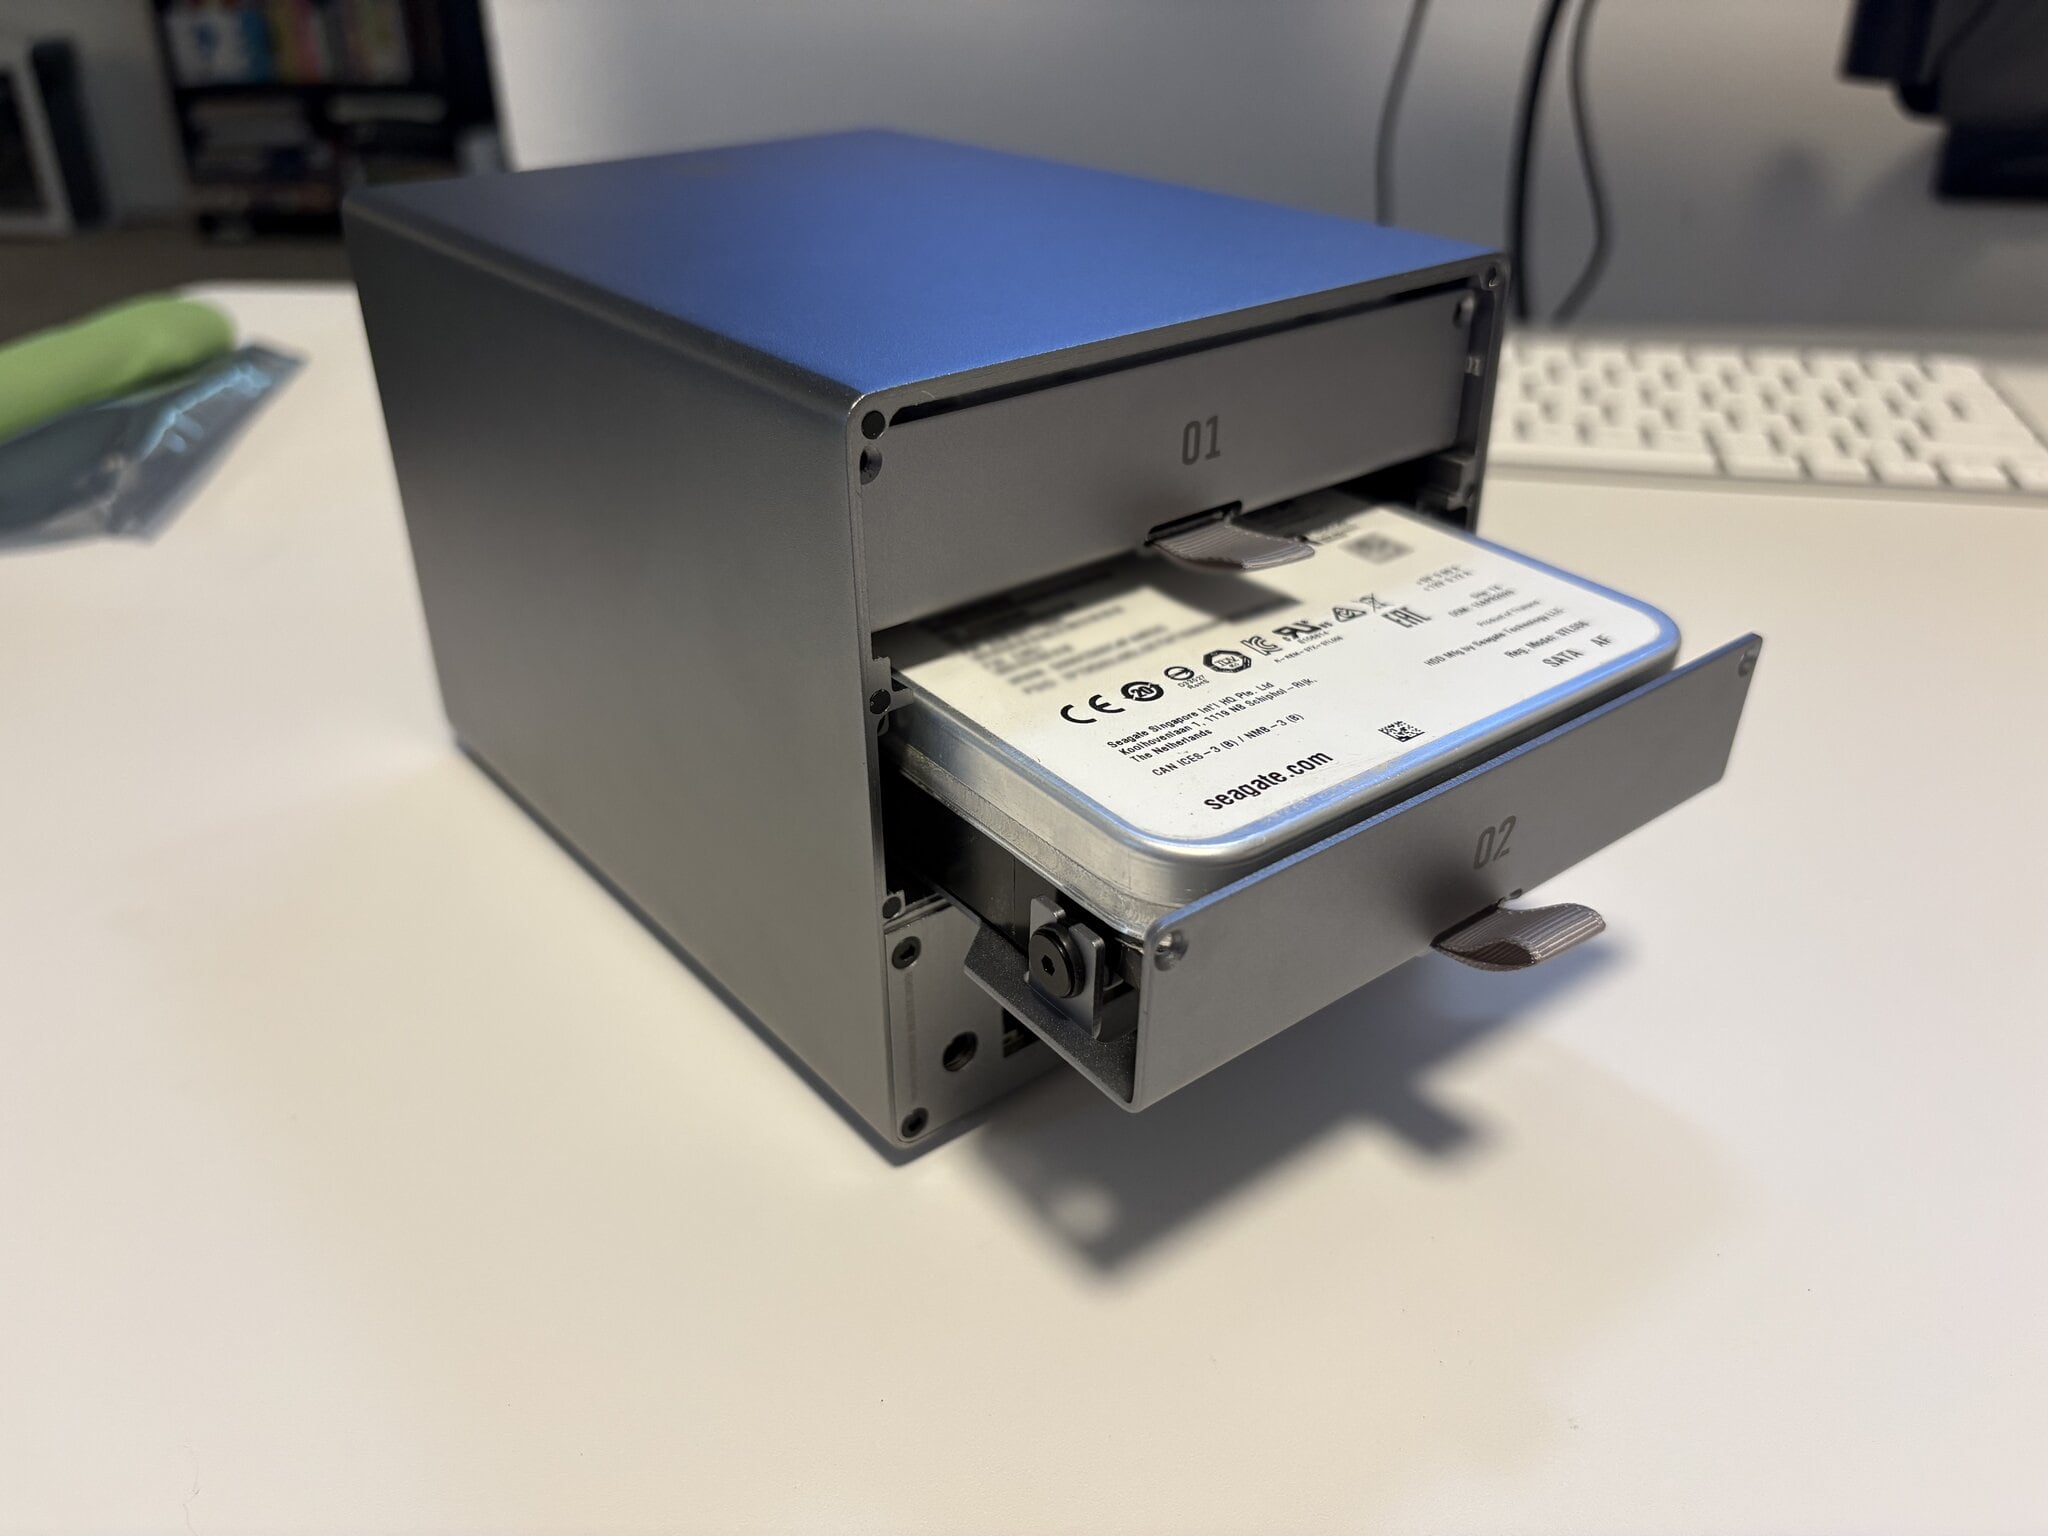
Used 2x Seagate Exos X14 14TB drives I had leftover from an old build.
I stuck with Arch Linux simply because it’s what I’ve standardized on at home; I have some base Ansible infrastructure to build it out.
The disks are in a RAID 1 ZFS mirror.
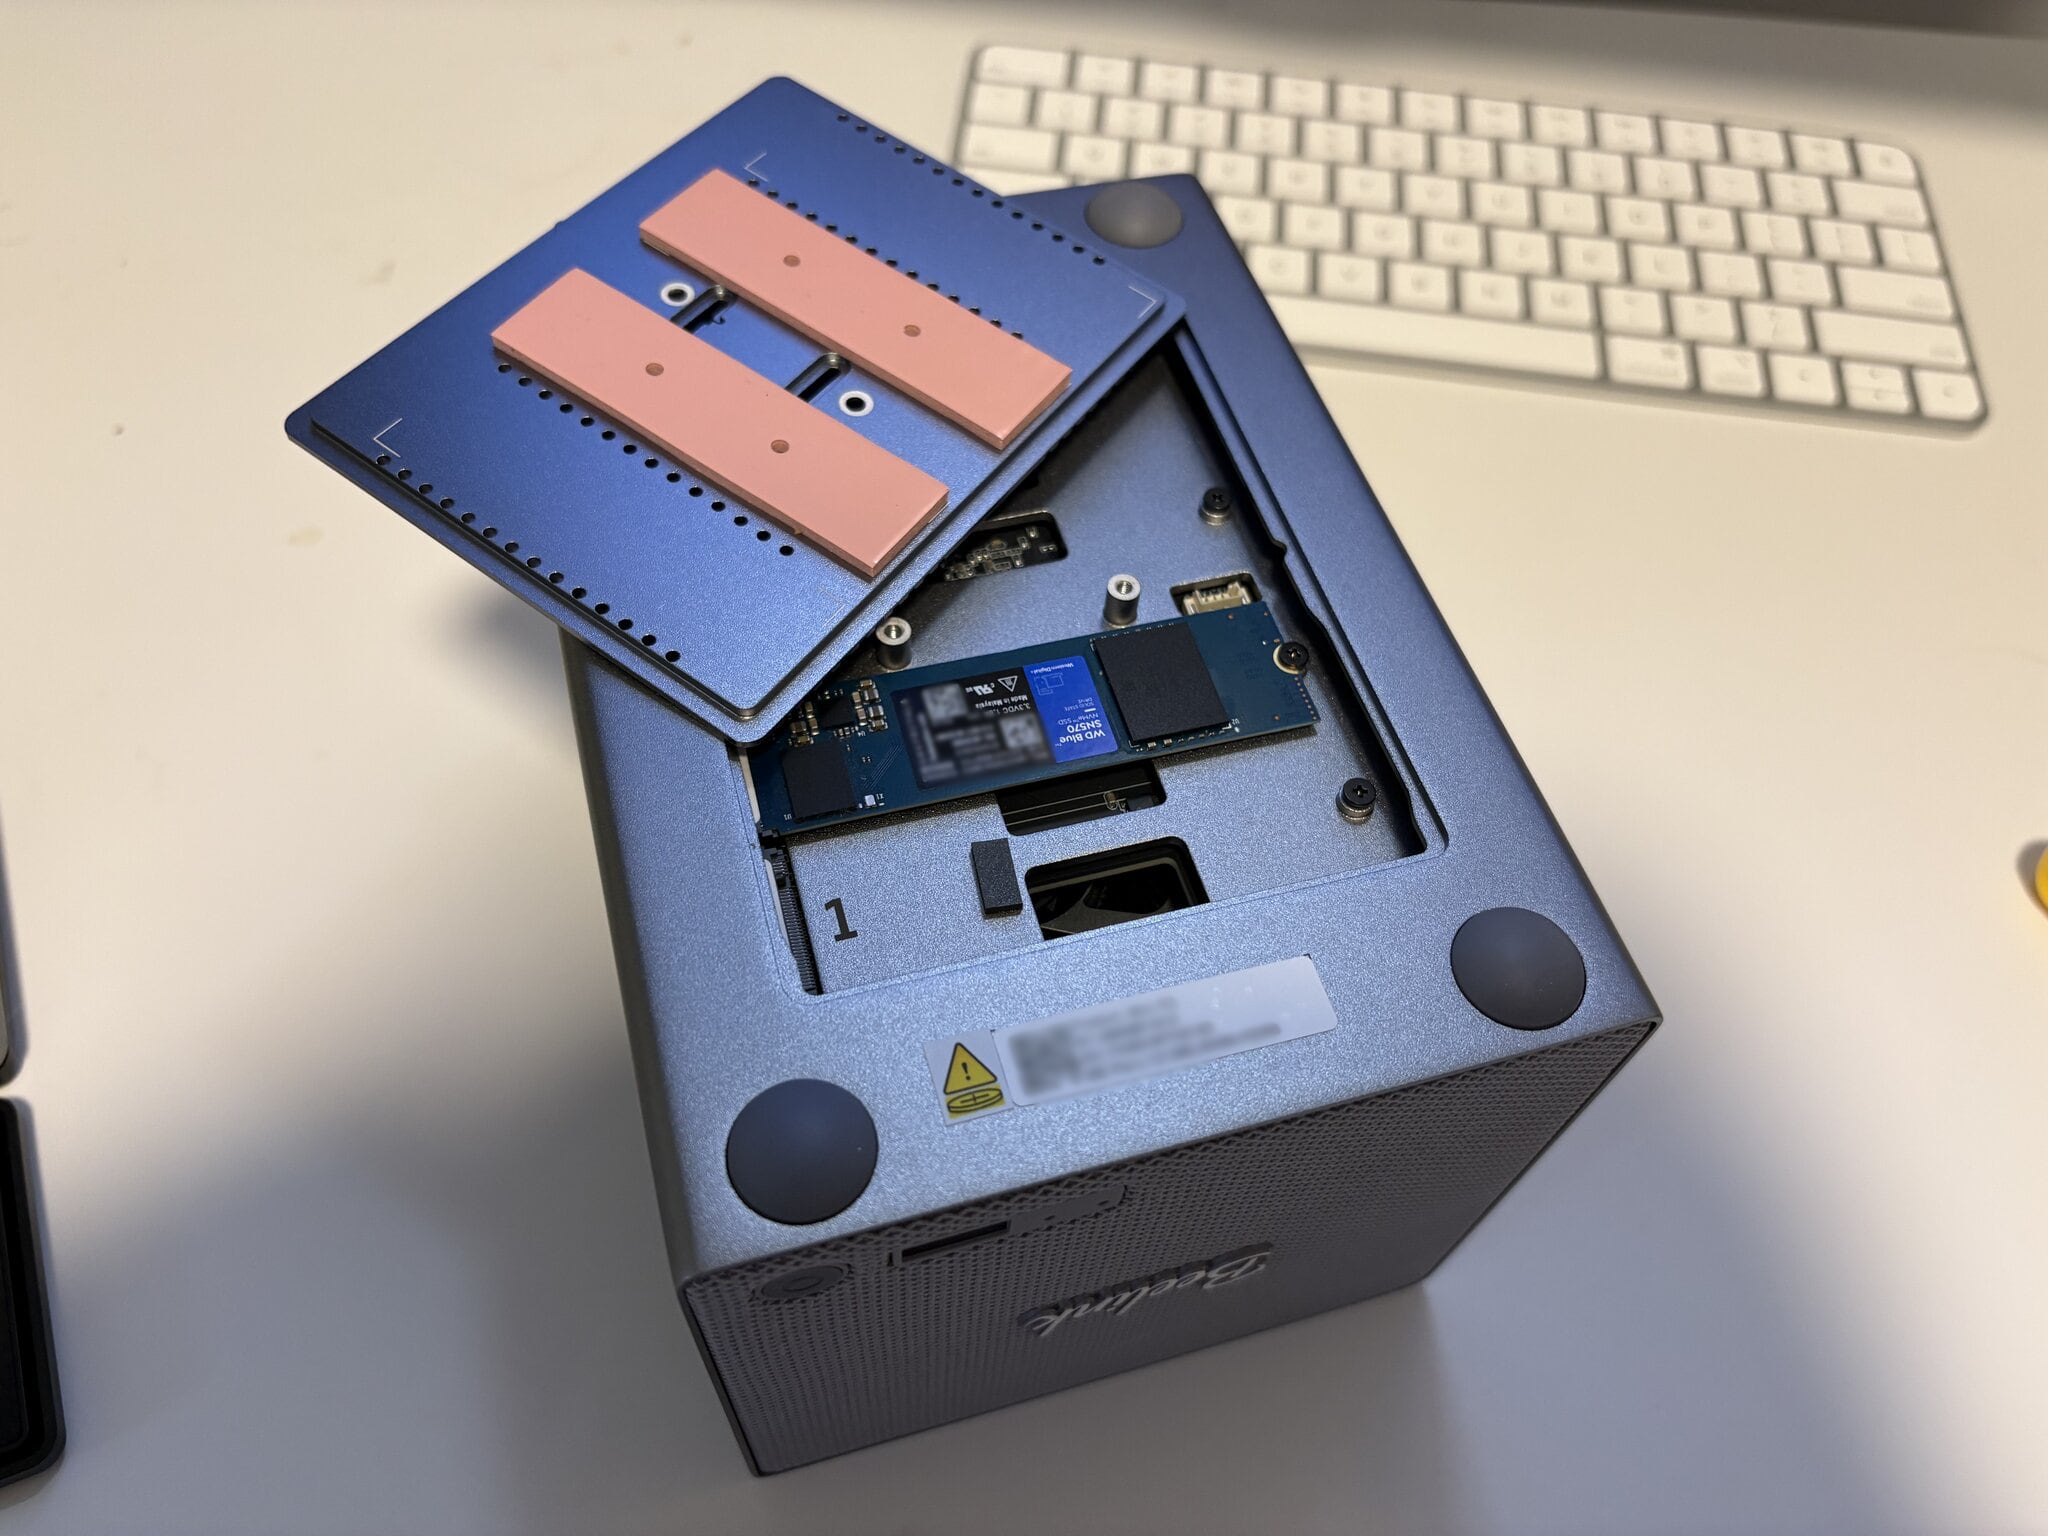
As pictured above, I went with a single 500GB WD Blue SN570 NVMe drive I had lying around for the boot drive. I could RAID this with another one, but with the main data being in the ZFS pool, the rebuild time should be minimal and fine for a home setup.
The installation itself took the second half of a Saturday, and was fairly straightforward since I had all of my usual system setup infrastructure set up in Ansible – minus a couple of unexpected problems.
Beep Boop
The machine’s hardware speaker beeps, every time it starts up. It beeps during terminal commands or hardware events, but that is relatively straightforward to disable. Minor annoyance, not a deal breaker. A bit surprising it doesn’t seem to have a toggle in the BIOS, as far as I can tell.
Remote LUKS Unlock
This one may not exactly be device-specific, but I had a hard time getting mkinitcpio-dropbear set up, which is what I used to unlock my disks remotely with LUKS.
This machine has 2 NICs, which is fairly common. However, it seems like one would randomly get picked during boot, which would then fail to get an IP address correctly, or at all. It felt like I was playing whack-a-mole to get it to pick the right one. This ate up the bulk of my time since I was just throwing things at it.
The whole time – my machine is making uncontrollable hardware beeps every 5 minutes as I try to debug it. My poor neighbors.
Eventually I found a solution, which was just to add ip=ip=:::::eth0:dhcp:ip=:::::eth1:dhcp to the end of the systemd-boot entry so it picks up both devices. Fairly straightforward, just took a while to figure out.
Final thoughts
Really happy with this device. It’s relatively silent (minus the power on beep), does what I need it to do, and is super compact and fits on my shelf easily.
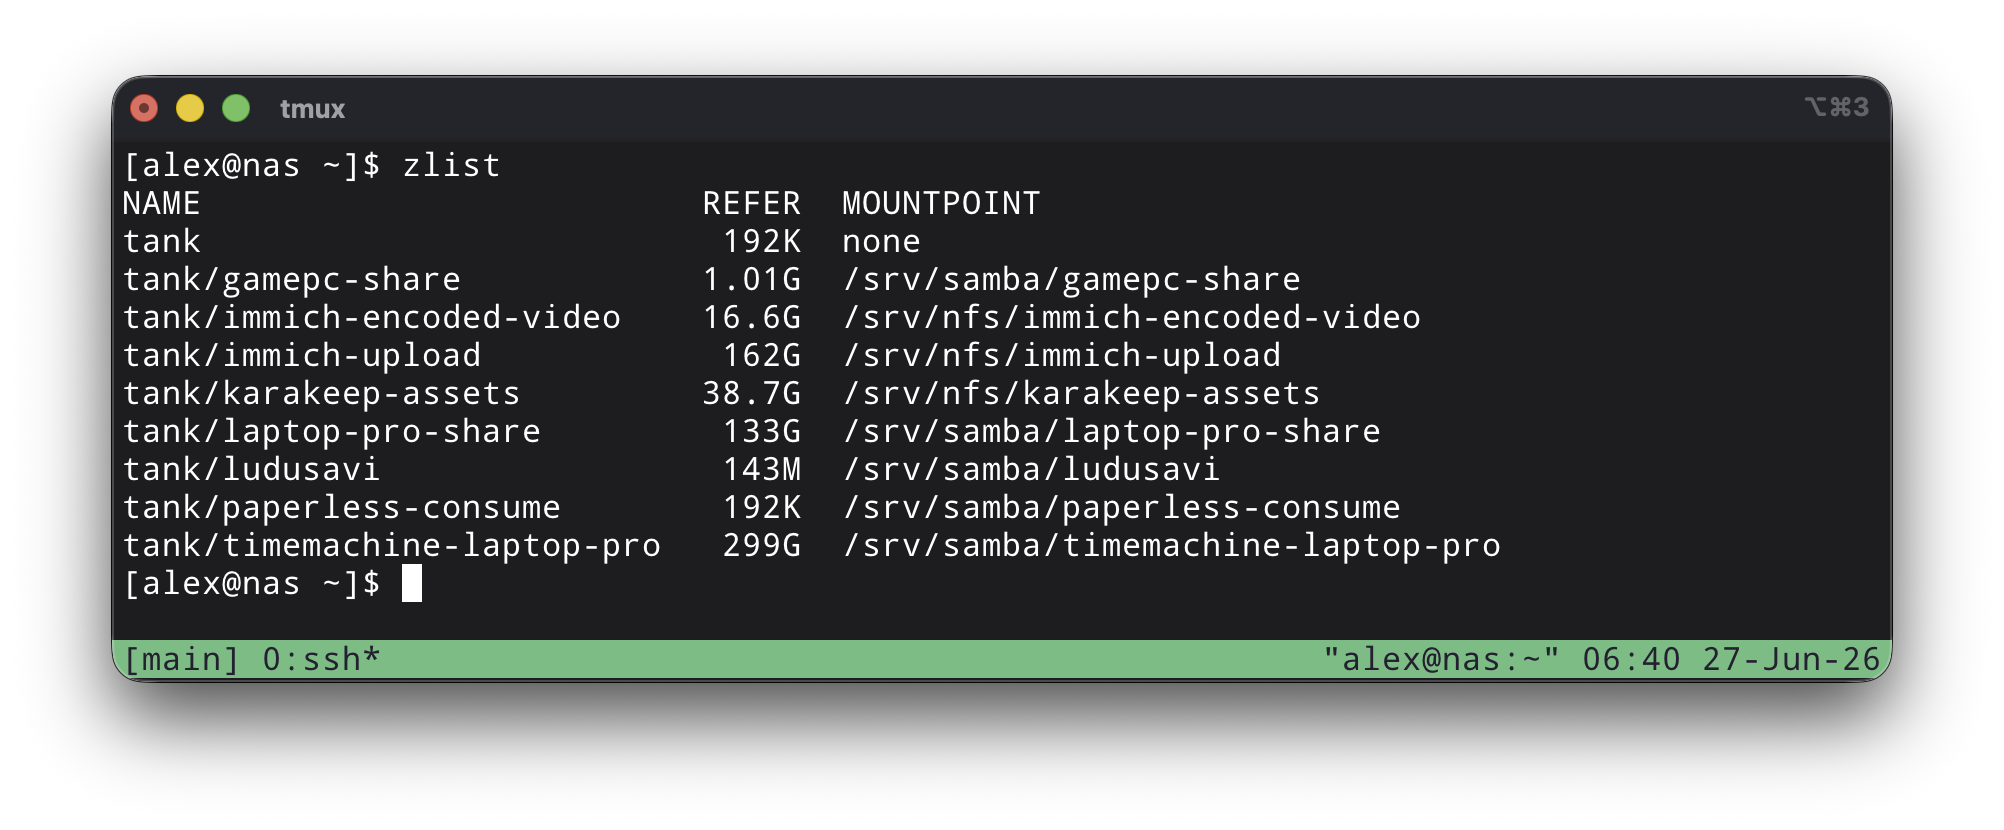
It’s fully integrated in my home infrastructure setup, backing services with bigger storage needs, such as Karakeep & Immich.
All of my Ansible IaC for this, including setting up the zpools and NFS shares, is available publicly on GitHub.